

 English
 русский
 Español
 عربى
رقم 8، طريق دوكسيو سان، مدينة جانلين، مدينة شينغتشو، مدينة شاوشينغ، مقاطعة تشجيانغ، الصين

فئة الأخبار
فئة المنتج
Concrete Mixer Motor Replacement: How to Match Specs and Install a New Motor
محتوى
- 1 Signs That Your Concrete Mixer Motor Has Failed
- 2 What Kind of Motor Does a Concrete Mixer Use?
- 3 Critical Specifications for Concrete Mixer Motor Replacement
- 4 Matching the Replacement Motor to Your Mixer Type
- 5 Step-by-Step Concrete Mixer Motor Replacement
- 6 Common Replacement Mistakes and How to Avoid Them
- 7 Should You Repair the Old Motor or Replace It?
- 8 What to Look For in a Quality Replacement Motor
- 9 Where to Source a Replacement Motor and What It Will Cost
When a concrete mixer motor starts to smoke, the decision is already made for you. The motor has to come off, and a replacement has to go on. What happens next tends to confuse first-time owners, because mixer motors do not carry the same clear labels as a general-purpose industrial motor. The good news is that replacing a concrete mixer motor is a well-defined job. Match the voltage, power, speed, mounting dimensions, and rotation direction of the original unit, fix whatever mechanical problem caused the burnout, and the mixer will be back at work the same afternoon.
We build small single-phase motors for portable and mini concrete mixers at our factory in Shengzhou, China, and we see failed mixer motors regularly in the form of warranty returns and replacement orders. Most premature failures have one of five causes: a worn drum gear that overloads the motor, an undersized motor, cement dust blocking the cooling fan, a failed capacitor, or a voltage mismatch. Understanding these causes matters, because replacing a motor without fixing the root cause simply produces a second burnout. That is the perspective from which this guide is written.
Signs That Your Concrete Mixer Motor Has Failed
A failing motor rarely hides its condition. If you know what to look for, you can diagnose the problem in a few minutes and avoid spending money on a replacement when the real trouble is a seized drum or a worn gearbox.
- Burning smell or smoke from the motor housing. This is the clearest sign of a winding short circuit. Once the insulation burns, the winding is usually beyond repair. Do not run a smoked motor a second time; you may also damage the switch, capacitor, and wiring.
- The motor hums but the drum will not turn. This can be a dead capacitor, a broken start winding, or a seized gearbox. If the drum rotates freely by hand, the problem is usually electrical. Test the capacitor first, because it is the cheapest part.
- The circuit breaker trips whenever the mixer starts. A shorted winding draws excessive current. If the breaker trips instantly, the motor is damaged. If it trips only under heavy load, the motor is being overloaded by the mixer drive.
- The motor gets extremely hot and shuts off by itself. Many small motors have a thermal overload protector that opens when the motor overheats. Repeated tripping means the motor cannot shed heat, usually because dust has blocked the cooling fan or the drum gear is dragging.
- Visible damage, such as melted plastic near the terminal box, discolored paint on the housing, a rough-sounding bearing, or a shaft that will not turn.
Do not confuse capacitor failure with motor failure. A swollen or leaking capacitor produces the same "hum but no rotation" symptom as a broken start winding. Replacing the capacitor is a five-minute job that costs a few dollars. But if the motor has actually smoked, the winding is shorted, and for a fractional-horsepower motor under 1 HP a rewind is typically more expensive than a new motor. Before you order anything, turn the drum by hand. If the ring gear or gearbox is dry, seized, or grinding, the new motor will suffer the same fate as the old one. Grease the drum ring gear and mating pinion as part of the replacement.
What Kind of Motor Does a Concrete Mixer Use?
Portable and mini concrete mixers use fractional-horsepower single-phase induction motors in nearly all cases. In Europe and Asia, the common naming is the IEC-style YY712 series. The "YY" prefix denotes a capacitor-run single-phase induction motor; the "71" refers to the frame size, measured as the shaft height in millimeters; the last digit indicates the stack length. In North America, the equivalent is often a NEMA 56-frame motor, but many imported mixers use the metric frame even when sold in North America.
Three-phase motors appear on larger industrial mixers, and a small number of old machines use brushed universal motors, but neither is typical for equipment a homeowner or contractor would move around. The practical implication is that your replacement motor needs to be a single-phase induction motor designed for heavy cyclic duty, protected against dust, and fitted with the correct capacitor.
Features That Define a Mixer Duty Motor
- Capacitor-run design. The capacitor remains in the circuit during running, giving stable speed and good starting torque with a simple construction. The YY designation specifically refers to this design.
- Four-pole speed. At 50 Hz, the no-load speed is about 1400 rpm; at 60 Hz, it is about 1725 rpm. Under load, the motor settles to roughly 1350 rpm or 1620 rpm, which is the speed range that turns a concrete drum safely and keeps the mix from separating.
- Compact metric frame. The 71 mm frame height is the standard for most portable mixers; the 80 mm and 90 mm frames serve larger towable machines.
- Enclosed construction. Totally enclosed fan-cooled (TEFC) motors are the standard for mixer duty, because cement dust is abrasive and slightly conductive. An open motor will inhale dust and fail early.
| Characteristic | Capacitor-run (PSC) | Capacitor-start | Split-phase |
|---|---|---|---|
| Typical naming | YY712, YY713 | YC series | SP, no run capacitor |
| Starting torque | Medium | High | Low to medium |
| Running behavior | Capacitor always in circuit | Start capacitor switched out | No run capacitor |
| Typical power range | 180 W to 1.1 kW | 370 W to 3.7 kW | 90 W to 370 W |
| Common use in mixers | Portable and mini mixers | Larger drum mixers | Small light-duty machines |
| Duty suitability | Excellent for cyclic drum loads | Good for high starting torque | Poor for mixer duty |
Critical Specifications for Concrete Mixer Motor Replacement
The success of the replacement depends less on the brand and more on matching a small set of specifications. Get these right, and the motor bolts on and runs exactly like the original. Get one wrong, and you risk a stall, a burnout, or a drum that spins twice its intended speed.
Voltage
Voltage mismatch is the fastest way to destroy a motor. A 110V motor connected to a 230V supply fails within minutes; a 230V motor fed 110V will not develop full torque and may run hot. North American outlets supply 120V nominal; Europe, Asia, and Australia supply 220V to 240V. Check the nameplate on the old motor and confirm the supply at the outlet. Imported mixers are sometimes refitted locally, so trust the nameplate more than the plug shape.
Power Output
Power is expressed in watts or horsepower, with 746 W equal to 1 HP. Mini cement mixers typically use 375W motors; standard portable drum mixers use 500W to 650W; larger towable mixers use 750W and up. Stay within the same power class. Going slightly higher is possible if the frame size and shaft match and the supply circuit can handle the current, but do not oversize dramatically: the torque reaction can stress the gearbox and the drum structure.
Speed
Most mixer motors are four-pole, meaning about 1400 rpm at 50 Hz or 1725 rpm at 60 Hz. A minority are two-pole at 2800 or 3450 rpm. Fitting a high-speed motor to a drum designed for four-pole speed will throw concrete out of the drum and overload the gearbox bearings. Read the rpm figure on the nameplate, not just the power.
Frame Size and Mounting
The frame size fixes the bolt-hole spacing, the shaft height above the base, and the shaft diameter. If your old motor is a YY712, the shaft is typically 11 mm or 14 mm in diameter, but confirm with a caliper. For face-mounted motors, also measure the pilot diameter and the bolt circle. On gear-driven mixers, you also need the correct shaft length so the pinion engages the ring gear fully. When in doubt, send the old motor dimensions to the supplier.
Rotation Direction
Most capacitor-run motors can be wired for either direction. The mixer gearbox is designed for a specific input rotation, and the drum must rotate the correct way to lift and tumble the concrete. Before ordering, note the rotation arrow on the old motor housing, or check the gearbox design. Test the replacement by running it briefly before bolting on the drum assembly.
Capacitor
A matched replacement motor is normally delivered with the correct capacitor. If the new motor has a different microfarad value, do not borrow the capacitor from the old motor. An 8 uF capacitor fitted to a winding designed for 15 uF will cause weak starting and overheating. Record the microfarad and voltage printed on the old capacitor so you can verify the new unit.
Enclosure and Thermal Protection
For concrete work, buy a totally enclosed fan-cooled motor with an automatic thermal overload protector. The thermal protector senses winding temperature and switches the motor off before damage occurs. It resets automatically, so it is the cheapest insurance against a repeated burnout when the drum is strained.
| Specification | What to record from the old motor | Why it matters |
|---|---|---|
| Voltage | 110V, 120V, 220V, 230V, or 240V | Wrong voltage destroys the winding |
| Power | W or HP | Undersized motor stalls; oversized stresses the drive |
| Speed | rpm at no load | Drum speed and gearbox load depend on it |
| Frame | YY712, YY713, 56, or 143T | Bolt pattern and shaft alignment |
| Shaft | diameter x length, keyway size | Pinion and pulley fit |
| Rotation | CW or CCW from shaft end | Gearbox input direction |
| Capacitor | uF and voltage | Starting torque and running current |
| Duty | S1 continuous or S2 cyclic | Mixers need continuous-duty-capable windings |
Matching the Replacement Motor to Your Mixer Type
Small concrete mixers fall into three broad groups, and each group has a typical motor specification. Matching the group is the first step; matching the exact frame and mounting is the second.
Mini Cement Mixers
Mini mixers with 40 to 60 liter drums are popular for farm upkeep, hobby concrete, and small repair jobs. They typically carry a 375W motor on a 60 mm or 71 mm frame, at 230V in Europe and Asia and 110V where the market demands it. Because the machine is light, a heavier motor can make it tippy; stick to the original power class. Our YY712-230V-375W version is built for exactly this duty.
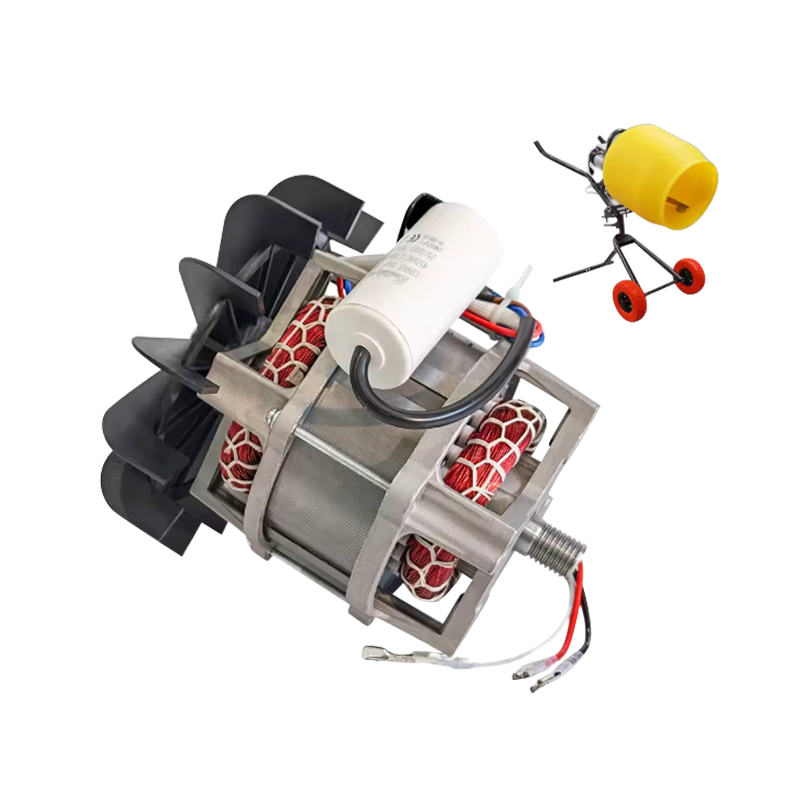 YY71-2 230V 375W Mini Cement Mixer MotorCompact and lightweight single-phase motor rated at 375W for small 40–60L mixers. Its low power keeps small machines stable and economical for farm and hobby concrete jobs.View Product →
Standard Portable Drum Mixers
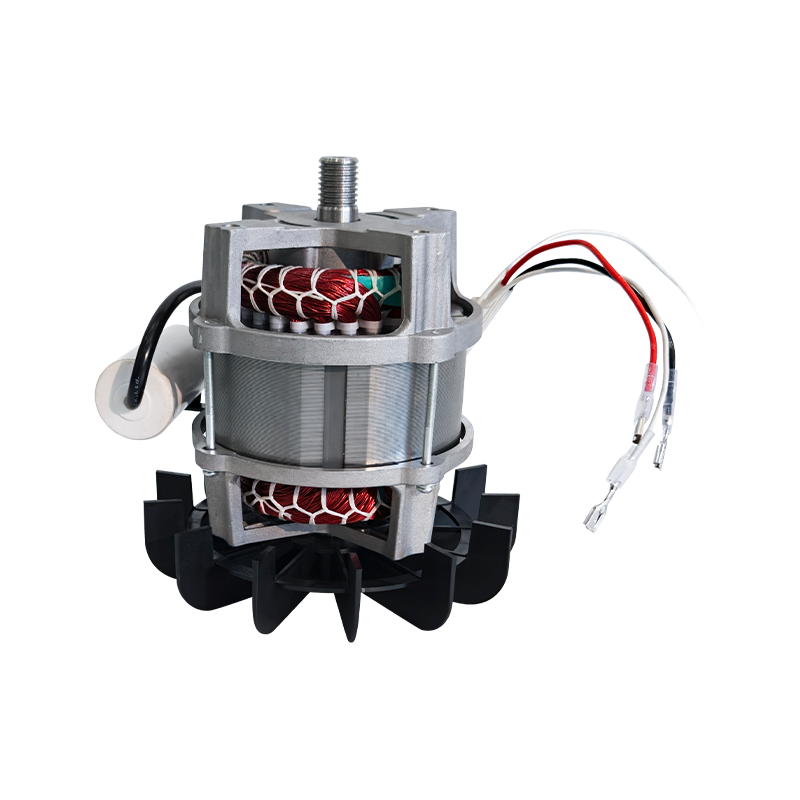
The most common replacement target is the standard portable mixer with a 90 to 120 liter drum, a gearbox, and a ring gear around the drum. These use 500W to 650W motors. Both 110V and 230V versions are common, and the motor usually has a long shaft with a pinion pressed on the end. If your old motor has a pinion on the shaft, measure the shaft diameter and pinion bore carefully; the pinion often transfers to the new motor. For this group, the YY712-230V-650W is a frequent choice.
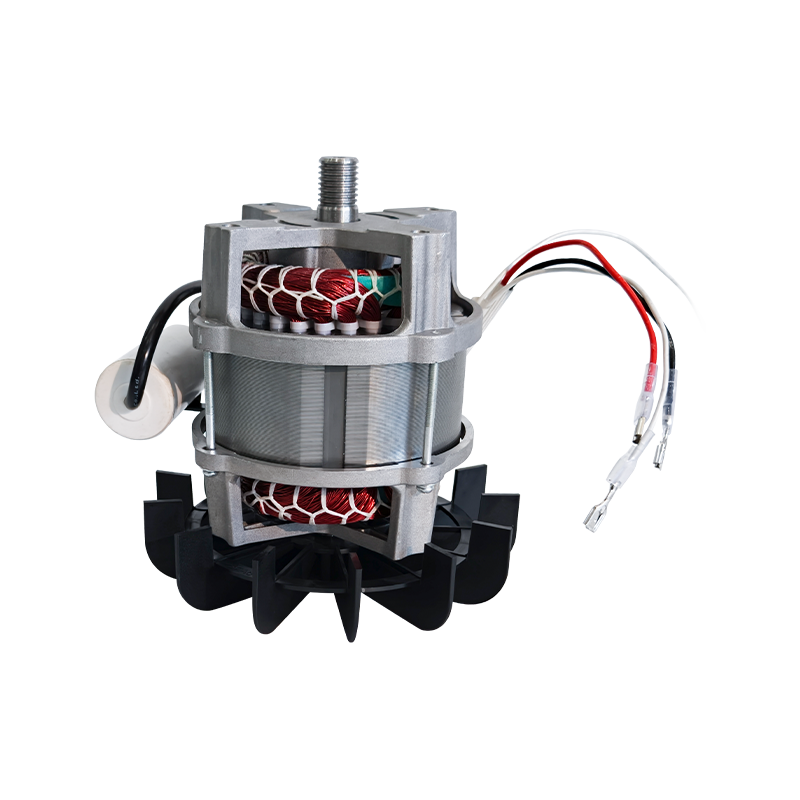 YY71-2 230V 650W Portable Concrete Mixer MotorSingle-phase 650W motor at 2800 RPM with copper winding, suited for standard portable mixers with 90–120L drums. A frequent choice when replacing worn ring-gear mixer motors.View Product →
Large and Towable Mixers
Towable and large stationary mixers with 150 to 200 liter drums need 750W to 1.1 kW motors. Some are three-phase, especially in industrial yards. Three-phase replacement requires matching voltage, phase count, and rotation; only a qualified electrician should make those connections. Single-phase versions at this power level exist for rental yards and large contractors, and our range includes an 800W unit that covers many towable machines.
| Mixer type | Typical drum size | Typical voltage | Typical power | Frame |
|---|---|---|---|---|
| Mini cement mixer | 40-60 L | 230V (EU/Asia), 110V (export) | 375W | 60/71 |
| Portable drum mixer | 90-120 L | 110V or 230V | 500-650W | 71 |
| Towable / large mixer | 150-200 L | 110V, 230V, or 400V three-phase | 750W-1.1 kW | 80/90 |
Step-by-Step Concrete Mixer Motor Replacement
Once the replacement motor is in your hands, installation takes between one and two hours with basic hand tools. Work safely: unplug the mixer, and if the installation is hard-wired to a supply, switch off the breaker and verify with a voltage tester. In many countries, a licensed electrician is required for permanent wiring connections; check your local rules.
- Disconnect the power and remove the drum guard or protective cover around the motor.
- Take a photograph of the wiring and label each wire before disconnecting it. Note where the capacitor is mounted and how the leads are routed.
- Release the drive. If the motor drives a pinion into a ring gear, remove the pinion with a puller or unbolt the motor flange and slide it clear of the gearbox. If the drive uses a v-belt, release the tension first and remove the belt.
- Unbolt the motor from the base plate. Keep the washers, shims, and spacers in a marked bag; they set the alignment of the pinion in the ring gear.
- Compare the old and new motors on the bench. Verify the bolt pattern, shaft diameter, shaft length, keyway, and rotation arrow.
- Transfer the pinion or pulley. Use a gear puller to remove the pinion from the old shaft, clean the bore, and press it onto the new shaft. Never hammer a pinion onto a motor shaft; it damages the bearing.
- Mount the new motor. Align the mounting holes, reinstall the shims in their original positions, and torque the bolts evenly in a cross pattern.
- Connect the wiring. Follow the diagram printed on the inside of the terminal box. Connect earth, line, and neutral, then connect the capacitor leads exactly as shown. Use crimp terminals and tighten them firmly; a loose connection becomes a hot spot and eventually a dead motor.
- Check the gear engagement. The pinion should mesh with the ring gear with a small amount of backlash. If the mixer has an adjustable motor plate, set the clearance so the pinion does not bind. Grease the ring gear teeth lightly with an open-gear grease.
- Test the rotation direction. Power the motor for two seconds and confirm the shaft spins in the same direction as the old motor. If it runs backward, swap the winding leads according to the motor wiring diagram and test again.
- Run the mixer empty for two to three minutes. Listen for grinding or knocking, check that the motor fan is pulling air through the housing, and measure the current with a clamp meter if you have one. A healthy motor draws slightly less than the nameplate current at no load.
- Reinstall the guard, clean the area, and load the drum gradually. Keep the drum loading within the mixer's rated volume and add water progressively to avoid a sudden overload.
Common Replacement Mistakes and How to Avoid Them
A replacement motor that burns out within weeks is rarely at fault. Almost always, the installation or the surrounding machine has an issue. These are the mistakes we see in warranty returns and in owner discussions.
- Wiring the motor for the wrong voltage. A 230V motor connected to 110V will not reach full torque; a 110V motor connected to 230V fails fast. Always verify with a meter.
- Fitting a motor with the wrong speed. A 2800 rpm motor on a 1400 rpm application turns the drum too fast, throws concrete, and overloads the gearbox.
- Setting the wrong rotation direction. A drum that rolls the wrong way reduces mixing quality and can spill concrete.
- Choosing a motor with insufficient starting torque. Capacitor-run motors are the norm because they provide good starting torque for a cement load. A simple split-phase motor may stall under load.
- Leaving the old capacitor in place when it is not matched to the new motor. Even if the old capacitor looks fine, its microfarad rating may be wrong for the new winding.
- Ignoring the drum drive. A dry ring gear, a worn pinion, or a bent drum shaft adds drag that overheats any motor.
- Blocking the cooling air path. The motor fan needs to pull clean air through the housing. Stacking bags of cement next to the motor is an easy way to kill it.
- Skipping the test run. A motor that is tested without a load for a minute may reveal looseness, vibration, or an incorrect rotation before it has to move concrete.
| Symptom after replacement | Probable cause | Fix |
|---|---|---|
| Motor hums but drum does not turn | Capacitor wiring wrong; capacitor dead; start winding open | Verify capacitor connection; measure microfarad; test by hand-turning |
| Motor runs in reverse | Main and start winding leads swapped | Swap leads according to the diagram |
| Drum turns too fast | Motor speed wrong for the drum | Replace with a correct four-pole motor |
| Motor overheats after a few minutes | Undersized motor; blocked cooling; tight ring gear | Confirm power; clean cooling path; check drive friction |
| Breaker trips instantly | Short circuit; wrong voltage; jammed gearbox | Test winding; check supply voltage; free the drive |
| Grinding noise during running | Pinion misaligned; worn bearing; loose base bolts | Realign and tighten; replace the bearing if needed |
Should You Repair the Old Motor or Replace It?
For a fractional-horsepower single-phase motor, replacement beats repair in most cases, both in money and in time. A motor repair shop will quote for a rewind, new bearings, and a capacitor, and the total often exceeds the price of a new motor. You also wait longer and accept the risk that the original housing has hidden fatigue. The exception is a mixer with a non-standard mounting or shaft that no stock motor matches; in that situation, a rewind or a used motor with the same frame may be the only options.
Consider the rest of the mixer before spending. A new motor on a mixer with a badly worn drum bearing, a cracked frame, or a gearbox full of metal debris is a poor investment. If the cost of the motor plus the repairs to the drive train approaches half the price of a comparable new mixer, replace the machine. But if the drum, gearbox, and frame are in good condition, a motor swap is the most economical path, and it prolongs the life of a machine you already know. Our cement mixer motor repair guide covers the diagnostic side in more detail.
What to Look For in a Quality Replacement Motor
A motor that bolts on is not necessarily a motor that lasts. The cheapest replacement may use aluminum windings, sleeve bearings, and no thermal protection. For a concrete mixer motor, these are the features to check:
- Copper or aluminum winding. Copper windings carry more current for a given temperature rise and tolerate brief overloads better. Aluminum-wound motors are cheaper but run hotter; in a dusty mixer environment, heat is the main enemy.
- Insulation class. Class B insulation is the minimum for mixer duty; class F is better. The class is printed on the nameplate or in the supplier's data sheet.
- Sealed ball bearings. Shielded or sealed ball bearings keep cement dust out of the grease. Sleeve bearings are not acceptable for mixer duty.
- Thermal overload protector. An automatic reset thermal protector switches the motor off when the winding temperature climbs. Without it, one overload burns out the motor.
- Genuine nameplate data. Power, speed, voltage, current, capacitor value, duty rating, and enclosure code should all be printed on the plate. A vague or missing nameplate is a warning.
- Rotor balancing. A replacement motor that vibrates will shorten the life of the gearbox and the drum bearing. Test by running the motor loose on a bench before mounting it.
- Factory quality control. A committed manufacturer runs routine testing on each unit: current, speed, vibration, and high-voltage dielectric strength. Ask the supplier about their test process before ordering in volume.
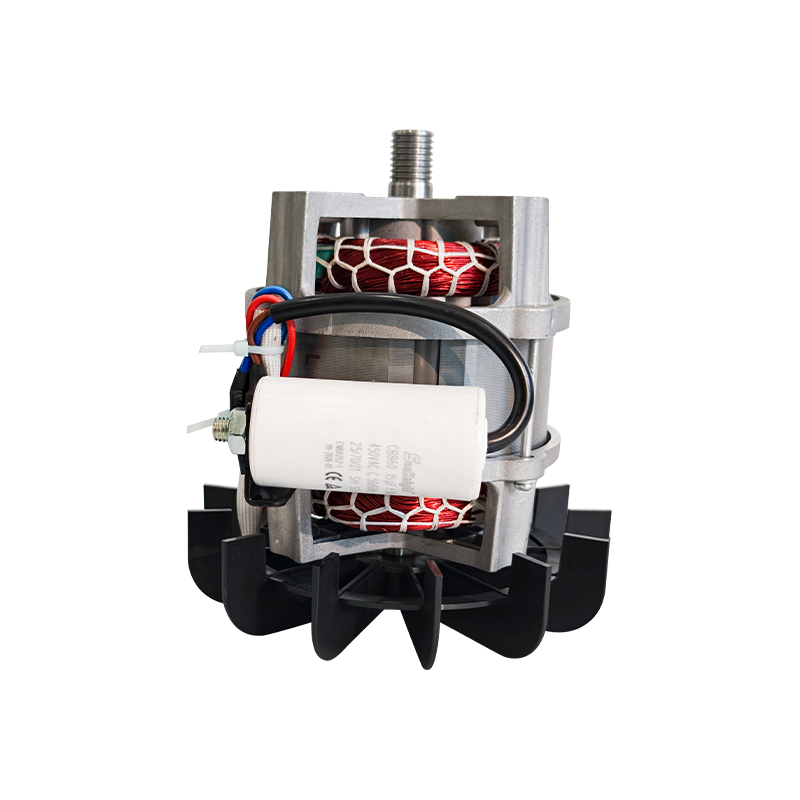
Our YY712 series motors for portable and mini concrete mixers are built with copper windings, insulated to class B or better, fitted with sealed bearings and thermal protectors, and individually tested before packing. For single-phase towable mixers that need a heavier motor in the same compact frame, our 800W unit covers many common machines.
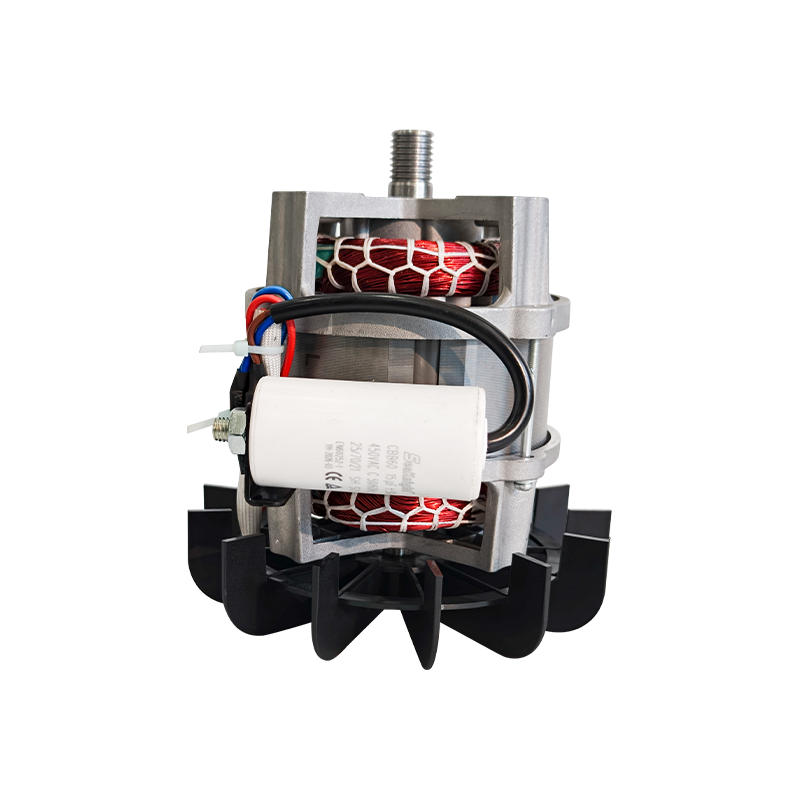 YY71-2 110V 800W Portable Concrete Mixer MotorNorth American 110V motor delivering 800W for 120–180L portable mixers. Provides stronger torque and smooth starts on job sites, fitting towable and larger single-phase machines.View Product →
If you are a mixer manufacturer, importer, or repair shop, buying directly from the factory lets you specify shaft length, capacitor value, lead length, and terminal layout. That is a conversation worth having before you place a large order; a small adjustment to the wire route or the capacitor bracket can save hours on your assembly line.
Where to Source a Replacement Motor and What It Will Cost
You have three practical routes to a replacement motor, and each fits a different buyer.
If you are an owner-operator replacing one motor, your local electrical motor supplier or an online aftermarket listing is the fastest route. Expect to pay in the range of USD 40 to 90 for a 375W to 500W motor and USD 70 to 140 for a 650W to 800W motor, depending on brand and shipping. Check the vendor's return policy before paying; mixer motors are heavy, and return shipping can rival the motor price.
If you buy used, keep the risk in mind. A used motor from an auction or online marketplace may have a shorted winding or a worn bearing that is not visible in a photo. Test insulation resistance before installing, and run it unloaded to check for smoke and vibration. Used motors can be an excellent bargain when the seller can show test results; otherwise, weigh the saving against the risk of doing the job twice.
If you are a mixer brand, a distributor, or a repair shop with steady volume, import direct from the factory. We manufacture the YY712 series in 375W, 500W, 650W, and 800W ratings, in 110V and 230V, with the capacitor mounted on the motor and a pinion ready for the common drum mixers. Because the motor is a significant part of the mixer cost, a reliable single source protects your product quality and your delivery schedule. We ship to more than 60 countries and can provide sample units for qualification before a series order. Whatever the source, confirm the lead time. A motor sitting in a warehouse near you is ideal for a one-off repair; a factory order of hundreds of units has a production lead time of weeks, so plan ahead.
Replacing a concrete mixer motor is a specification-matching exercise, not a gamble. Confirm the voltage, power, speed, frame, shaft, rotation, and capacitor values before you order. Inspect and repair the drum drive before you install, so the new motor starts life with clean, low-friction surroundings. Wire it correctly, test the rotation direction, and run it empty before loading. When the mixer is back at work, keep the motor free of cement dust and keep the ring gear greased; those two habits prevent most early failures. For more perspective on the timing and procedure from a maintenance standpoint, see our article on when and how to replace a concrete mixer motor. A good replacement motor, fitted with care, will outlast the rest of the machine.
المنتجات ذات الصلة
-
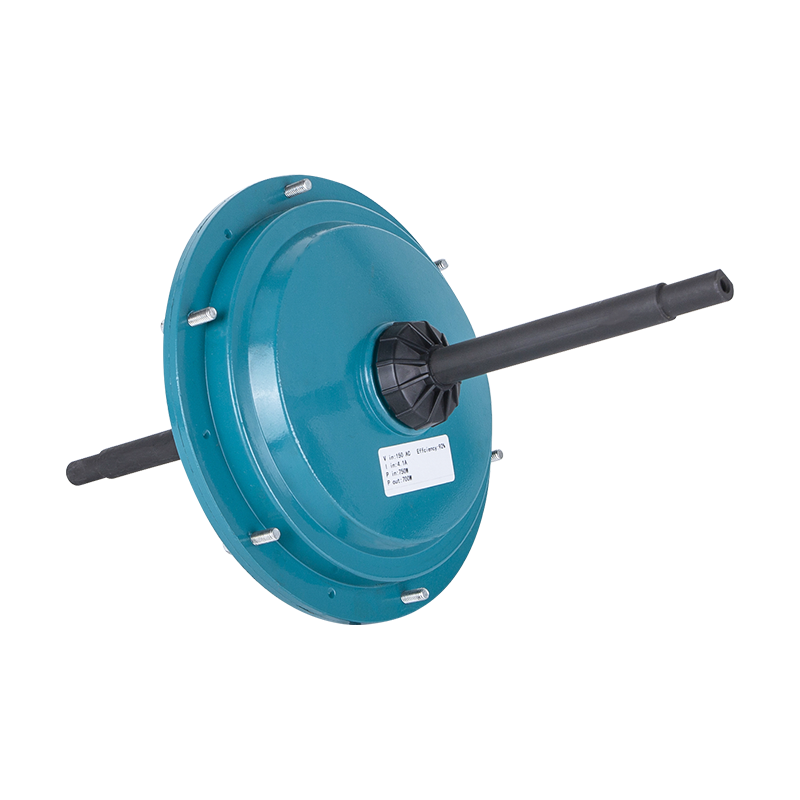 محرك تبريد هواء خارجي BLDC DC149 بقوة 220 فولت/700 واط
-
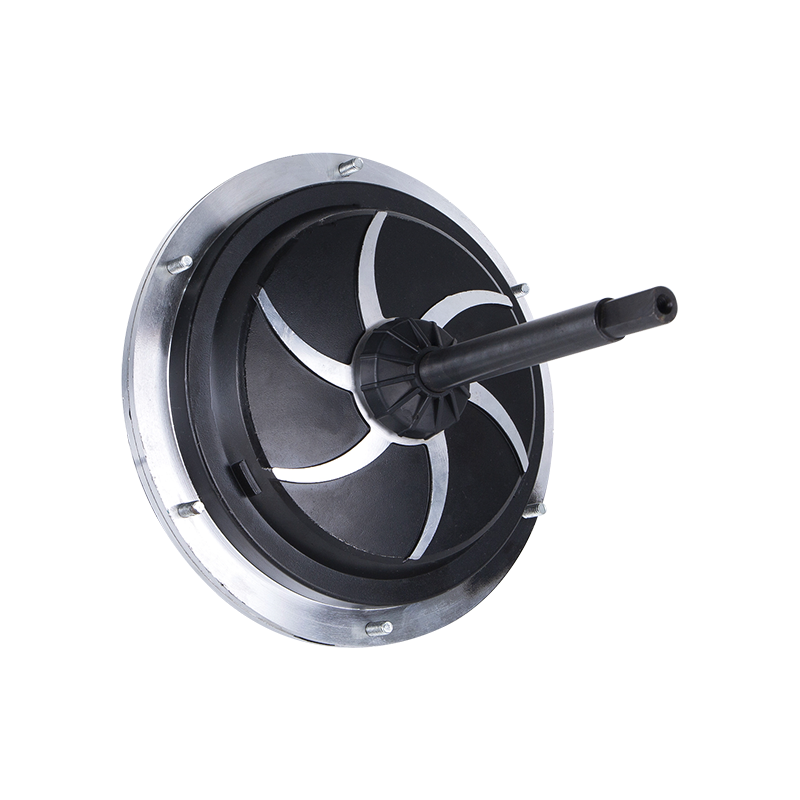 DC149 محرك BLDC تبريد هواء خارجي 220 فولت 700 واط
-
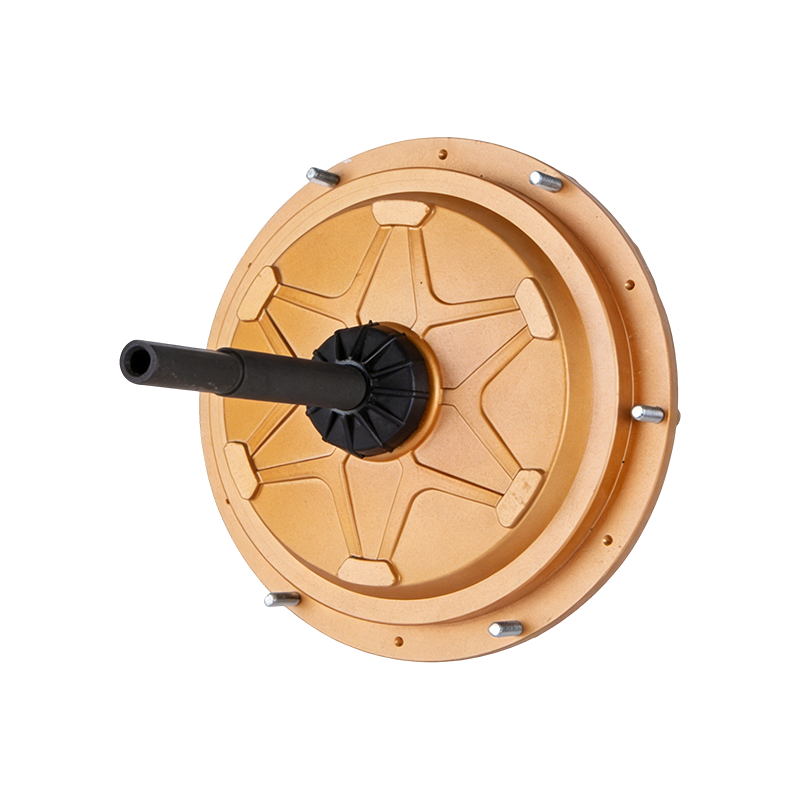 DC149 محرك BLDC تبريد هواء خارجي 220 فولت 600 واط
-
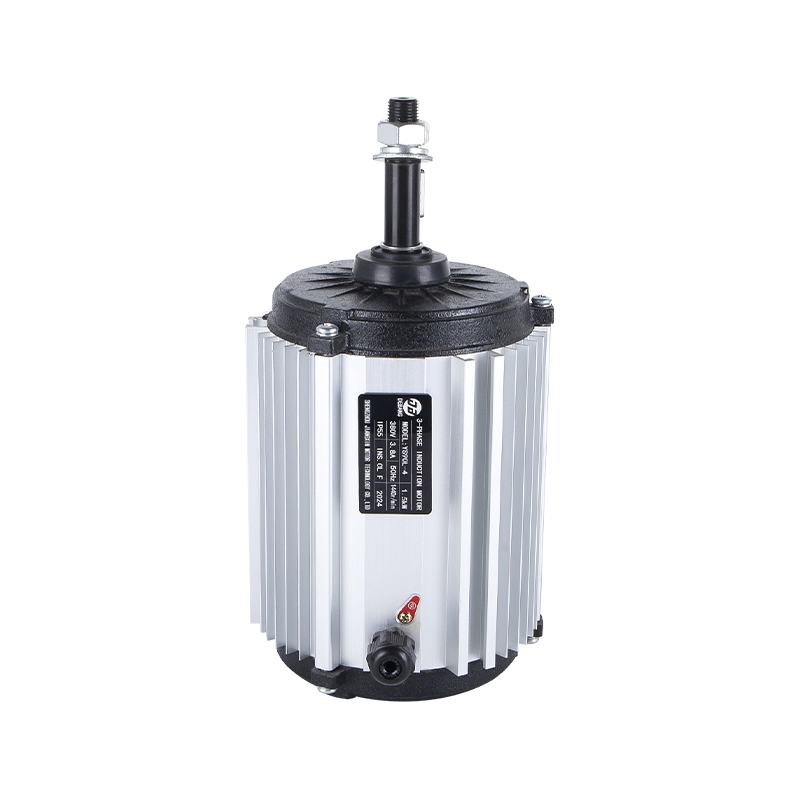 محرك تبريد الهواء التبخيري ثلاثي الطور 380 فولت 1500 واط YS90L-4
-
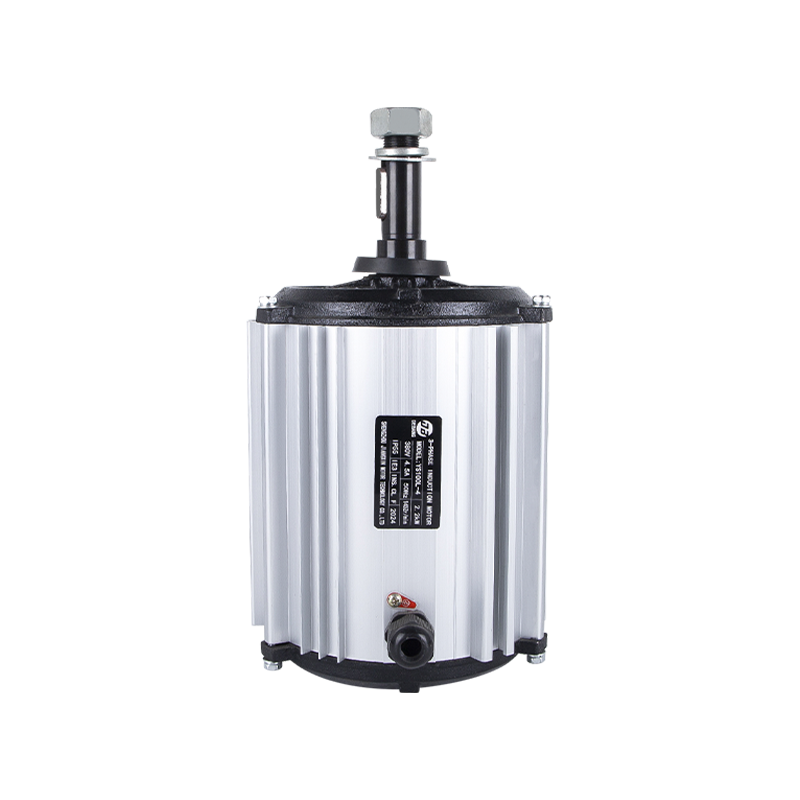 محرك تبريد الهواء التبخيري ثلاثي الطور 380 فولت 2200 واط YS100L-4
-
 محرك تبريد الهواء التبخيري ثلاثي الطور 380 فولت 1500 واط YS90L-4
-
 YY71-2 محرك خلاط الخرسانة المحمول 230 فولت 650 واط
-
 YY71-2 محرك خلاط الخرسانة المحمول 110 فولت 800 واط
 هل أنت مستعد لتخصيص
منتجات السيارات الخاصة بك؟

نحن مصنعون محترفون للسيارات، ونقدم طاقة قوية ومستقرة وفعالة نوى لجميع الصناعات من خلال الحرفية الدقيقة والابتكار.
اتصل بنا
-
 الجوال:+86 13575536911
-
 هاتف:+86 18357538240
-
 Whatsapp:+8618357538240
-
 البريد الإلكتروني:betty@dbjxmotor.com
-
 عنوان الشركة
حقوق الطبع والنشر © بواسطة Shengzhou Jiangxin Motor Technology Co., Ltd. جميع الحقوق محفوظة.
